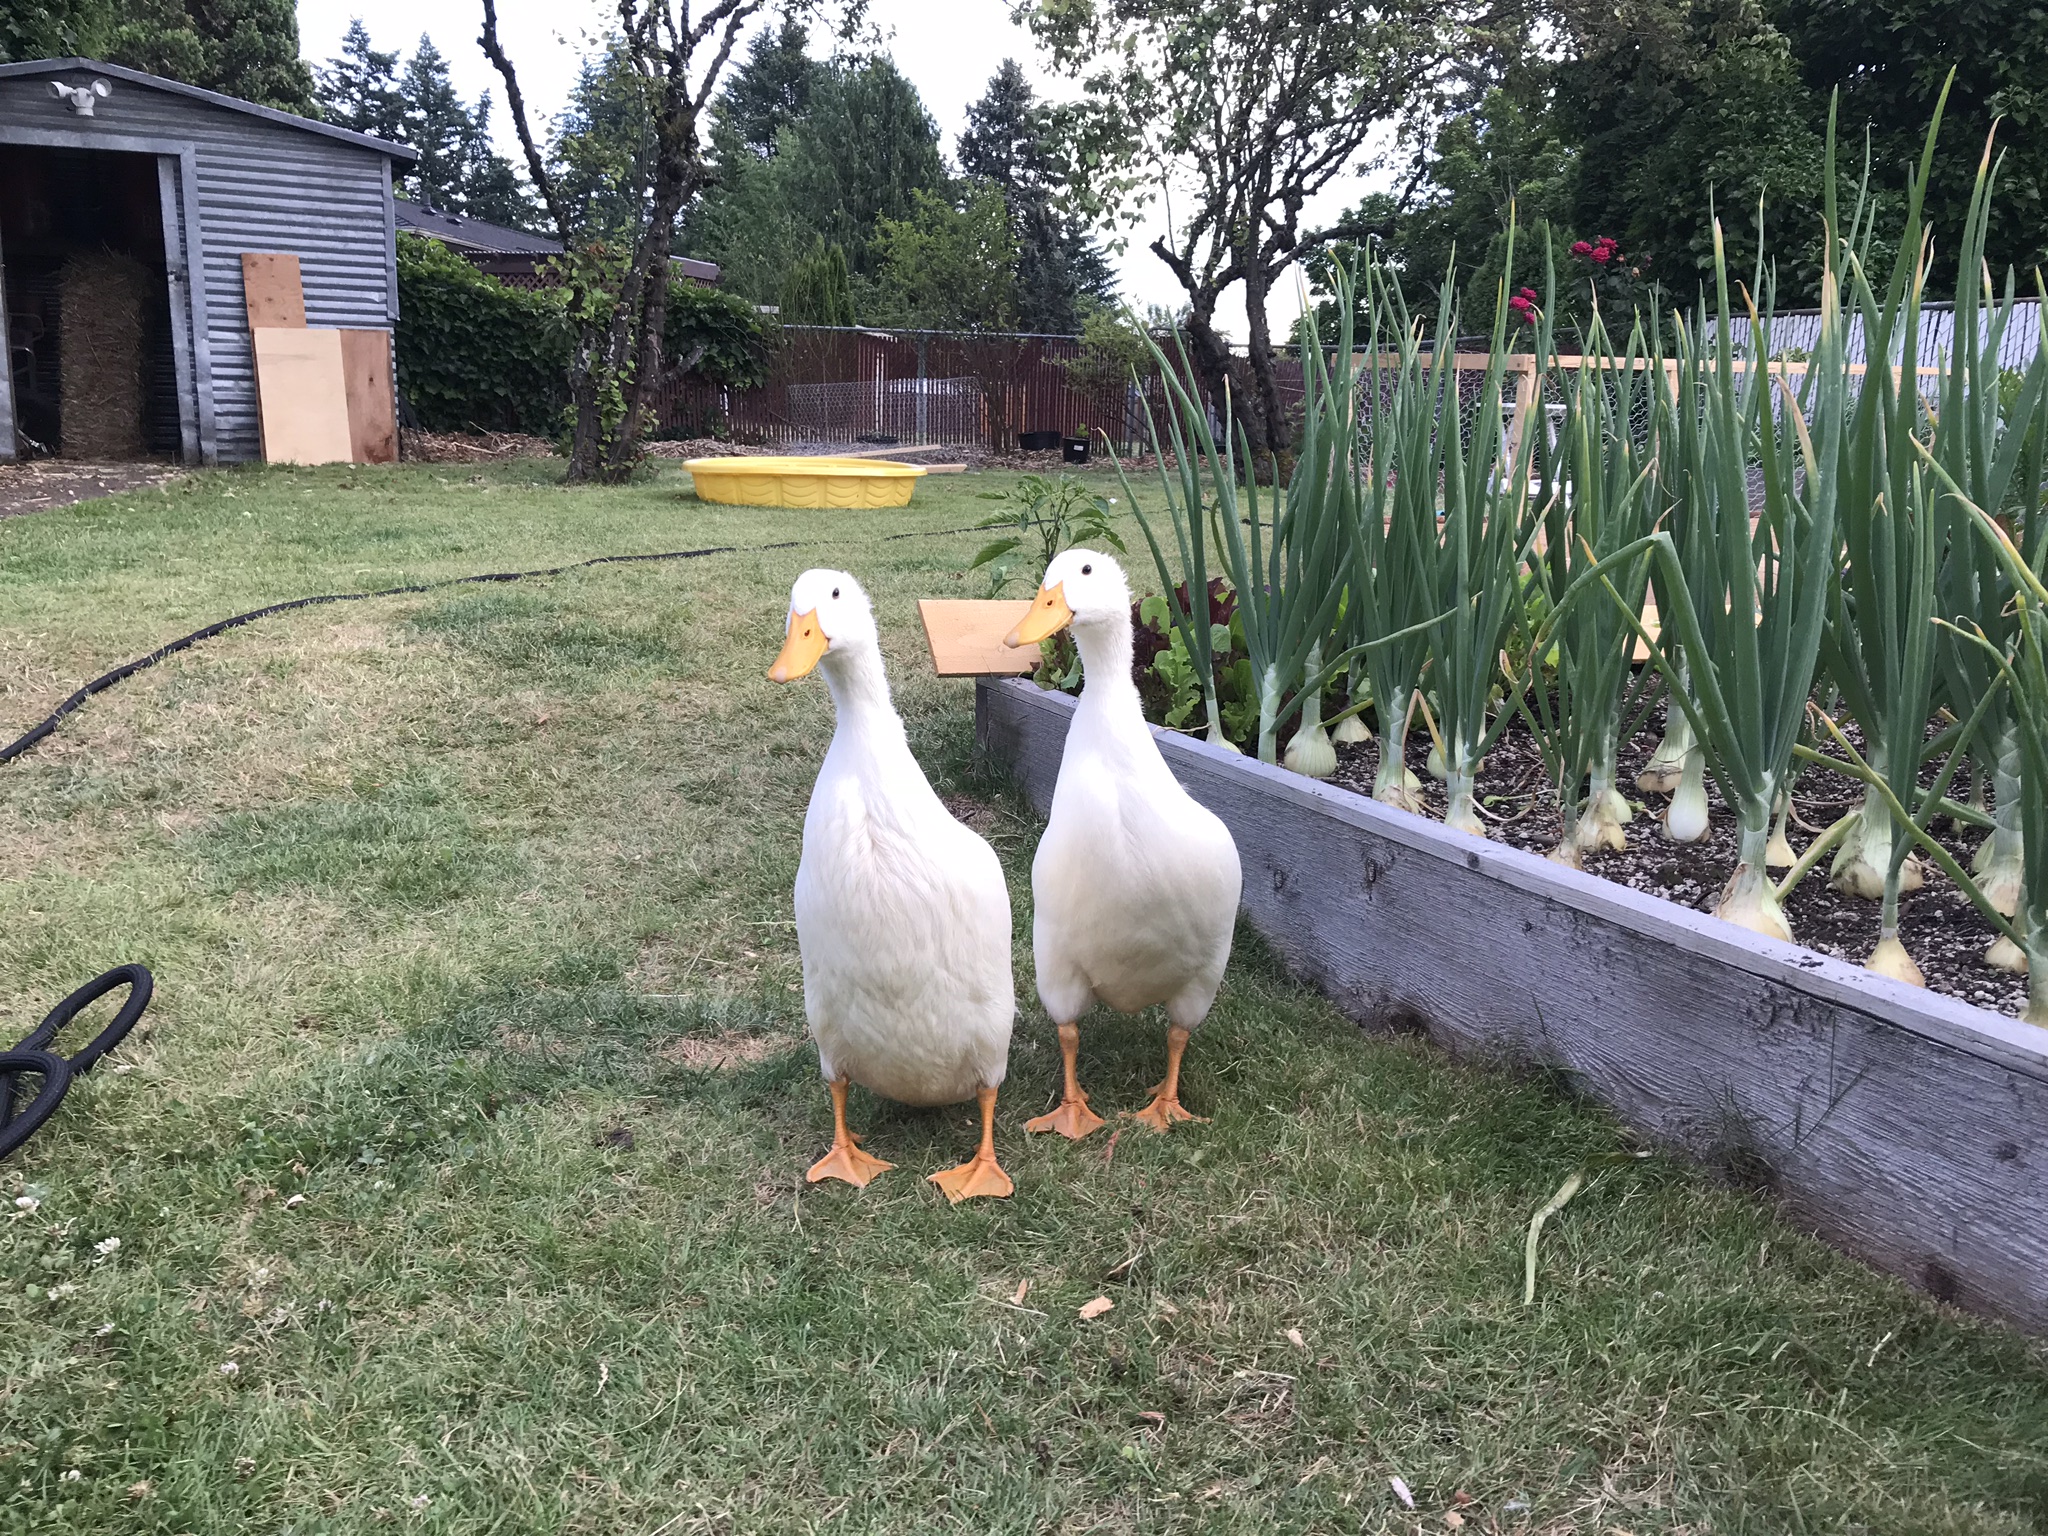
Building Wood Raised Garden Beds
Building wood-raised garden beds is a very popular method of backyard gardening. Accordingly, there are many different ways to go about creating an above-ground garden bed. Raised garden beds have a very nice look and appeal to them. Therefore, urban homesteaders concerned with the peering eyes from neighbors are well suited with building them versus in-ground garden beds, especially for front yard gardening. Kickstart a garden by filling a raised bed with native soil, compost, and other nutrient and mineral-dense soil amendments.
While cedar boards used to create 4 foot by 8-foot rectangle beds are most common, it is not the only way. In contrast, it is possible to use lots of different wood materials and create garden beds that fit small areas or even significantly larger. Spend time picking out the right site location for the garden beds. Then fill them up with the best materials you can source and get to growing.
What Types of Wood for Building a Raised Garden Bed?
These are the most popular types of wood for building a raised garden bed:
- Cedar
- Redwood
- Black Locust
- Douglas Fir
- White Oak
The most popular wood for building wood-raised garden beds is cedar. This type of wood offers several benefits over others. First, cedar boards are highly rot-resistant which is important as it is recommended to use untreated wood for garden beds. Secondly, it has natural insect repellent characteristics so bugs are less likely to chew into it and cause it to degrade quickly. Thirdly, it is lightweight making it easy to manage, yet very durable. Although cedar is a softwood due to its rot and insect resistance it is one of the most durable options. Lastly, cedar boards look great. When building a raised garden bed that is highly visible and the look and appeal are important. Choose two-inch cedar when building a beautiful garden bed that will last for years to come.
Selecting pinewood can be tempting due to the cost of cedar or redwood. However, be aware that when left untreated these types of woods can rot quickly. The boards will be placed on the ground and have wet soil against the entire side of the board. This invites rot and insects, a douglas fir raised bed that only lasts for 3 or 4 years before needing to be rebuilt costs significantly more than cedar or redwood beds over the long term.
What Material to Fill a Raised Bed?
Filling a raised garden bed requires a lot of material. It is important to have enough material to fill the entire bed up to the top. While all of the soil material can be native fill soil, most raised beds get filled with a combination of materials.
Woody debris material, mulch, or other uncomposted material like yard debris can be placed at the bottom of the raised bed. While not a true hugelkultur mound, adding rotting wood, yard waste, and other woody debris will break down slowly and enrich your garden beds for years to come.
The best materials to fill a raised bed include:
- Native Soil
- Fill Soil from Free Sources like Craigslist
- Compost
- Soil Amendments
- Topsoil and Raised Bed Soil Mix Bags
- Garden Debris
- Wood – Hugelkultur Raised Bed
- Mulch
- Sand
Remember when filling a bed for the first time it may be much more material than you imagine. As an example filling a 4 foot by 8-foot bed that is 12 inches tall requires 1.19 cubic yards of material. This is equal to 32 cubic feet, which if you are filling with standard size bags from a big box store will require 43 .75 Cu. Ft. bags. With this said, when planning to complete several new wood-raised beds it is wise to order a soil and compost delivery instead of purchasing by the bag.
Raised Bed Site Selection and Prep
A raised garden bed requires the same attention to detail when it comes to site selection and ground prep as building an in-ground garden bed. Pick a site that gets plenty of sunshine. Ideally raised garden beds should be in an area that is in close proximity to where you spend a lot of time outdoors. In permaculture terms, you want your kitchen garden beds in zone 2. This is an area that you visit frequently which means you are more likely to tend to tasks such as watering, weeding, and monitoring for other needs.
Assemble all the materials and tools you will need to complete the build. When preparing a site for a new raised bed it is advised to cover the ground soil with cardboard to reduce the growth of grass into the bed. Now is the time to break up the soil so if your ground is heavily compacted, digging and flipping the sod over can be helpful. If you are super ambitious, double dig your soil to really loosen the ground below the raised bed. This will improve the success of deep root development for the plants.
Tools Needed for Building Wood Raised Beds
A saw, drill, and screws will get it done. The following tools are helpful in building a raised bed from wood that is beautiful.
- Chop Saw / Miter Saw or a Circular Saw
- Compact Drill and Driver (Cordless is better than corded for outside projects)
- Measuring Tape
- 2 ½ inch or 3-inch screws. (When using 2-inch cedar boards get the 3-inch screws)
- Cardboard for laying on the ground before adding fill material
- Right Angle Clamp if building by yourself.
- Wheelbarrow and shovel or pitchfork for moving material to fill the bed.
Steps for Building a Raised Bed
- Select the site.
- Measure and stake the border of the bed.
- Dig and flip the sod or cover with cardboard when building on grass.
- Measure and cut the boards for the bed.
- Assemble the board using right-angle clamps to ensure a true 90-degree corner on all four corners.
- If building a raised bed design with corner posts, set your corner posts and then clamp the boards to the posts.
- Drill pilot holes into the ends of the board where you will drive the screws into.
- Drive the screws. 3 screws are adequate for most raised beds. If the bed is 12 inches, using 4 screws is advisable.
- Fill the bed. Start with coarser material such as old rotted wood, tree branches, or other garden debris for the lowest layer in the bed. This material will break down over time and provide lots of organic material for the bed to feed the plants.
- Continue to fill the bed with topsoil, native soil from another part of the yard, or bagged soil from a box store or soil delivery.
- Add a few scoops of a complete organic fertilizer and rake it into the soil.
- Add a layer of well-composted materials to the top of the bed.
- Plant or seed your future vegetable and flower gardens
What are the Pros and Cons of Raised Bed Gardening?
Raised garden beds have many pros and cons. Depending on your site, gardening abilities, and financial resources they may be the right or wrong choice for you.
Pros
- Creates a solid barrier between grass and vegetable and flower gardens. This keeps both pets and kids from easily stepping on plants.
- Good drainage. By filling the bed with a variety of materials it is possible to create a mix that drains well avoiding soggy roots.
- Highly fertile. It is easy to build up a high level of fertility and mineral content in a small area of a raised bed, versus converting a large area of native soil to something that is fertile.
- Easy to reach. Raised garden beds are closer to you. Therefore, individuals that have trouble reaching down can benefit from gardening in raised beds. As an example, all of the raised garden beds at our community garden have been reserved for ADA gardeners.
Cons
- Dry out quicker. Due to the high drainage qualities of raised beds, they are quick to dry especially along the edges of the garden. This is very noticeable when comparing to vegetables planted in a raised bed versus an in-ground garden bed on the same property. It is not uncommon to need to water twice per day for some crops in the heat of the summer with raised beds.
- Wood is expensive. Depending on the type of wood that is used a wood-raised garden bed can cost well over a hundred dollars per bed or even more with the current prices of lumber.
- Irrigation can be more difficult to set up. Along with drying out faster, setting up irrigation on raised beds is more complicated compared to in-ground farm-style garden beds. The additional height means more turns, especially when running to multiple beds.
- They require so much material to fill up. Not to mention that when the material breaks down over the seasons it will require adding more material to keep the beds at the top of the bed.
In conclusion
Overall, gardening in raised beds is a popular method for a reason. They keep your garden tidy and when maintained over the years will be very fertile for growing vegetables and flowers. Despite having some negatives and upfront costs, first-time urban homesteaders will find many benefits of building raised beds for at least part of their gardening. We have a food forest with annuals intermingled with perennial fruit shrubs and trees, but still, get a large harvest out of each of our wood-raised garden beds. They are excellent in most contexts and something to certainly consider investing in for a long-term garden project.


Recent Comments