
Building Garden Beds: In-Ground Garden Beds
Building in-ground garden beds are as simple as it gets when setting up your urban homestead garden. Due to this fact, there is no reason to wait to gather the resources and time for wooden raised beds. This is especially important if you want to start a garden on a limited budget, but think you need to have raised beds like other urban gardeners you see pictures of. Gardeners that have a lot of resources should still consider in-ground beds as there are several benefits versus raised beds for the serious gardener to weigh.
The following guide goes over setting up an in-ground garden bed and whether you are making 100-foot rows or just a small garden patch there are many things to consider to have a beautiful garden in native soil.

What is an In-Ground Garden Bed
An in-ground garden bed for growing vegetables is the simplest method for starting your garden. In fact, it only requires removing the grassland weeds down to bare soil. After the soil is made bare you can plant directly into it. However, it is wise to prepare the bed with compost and fertilizers.
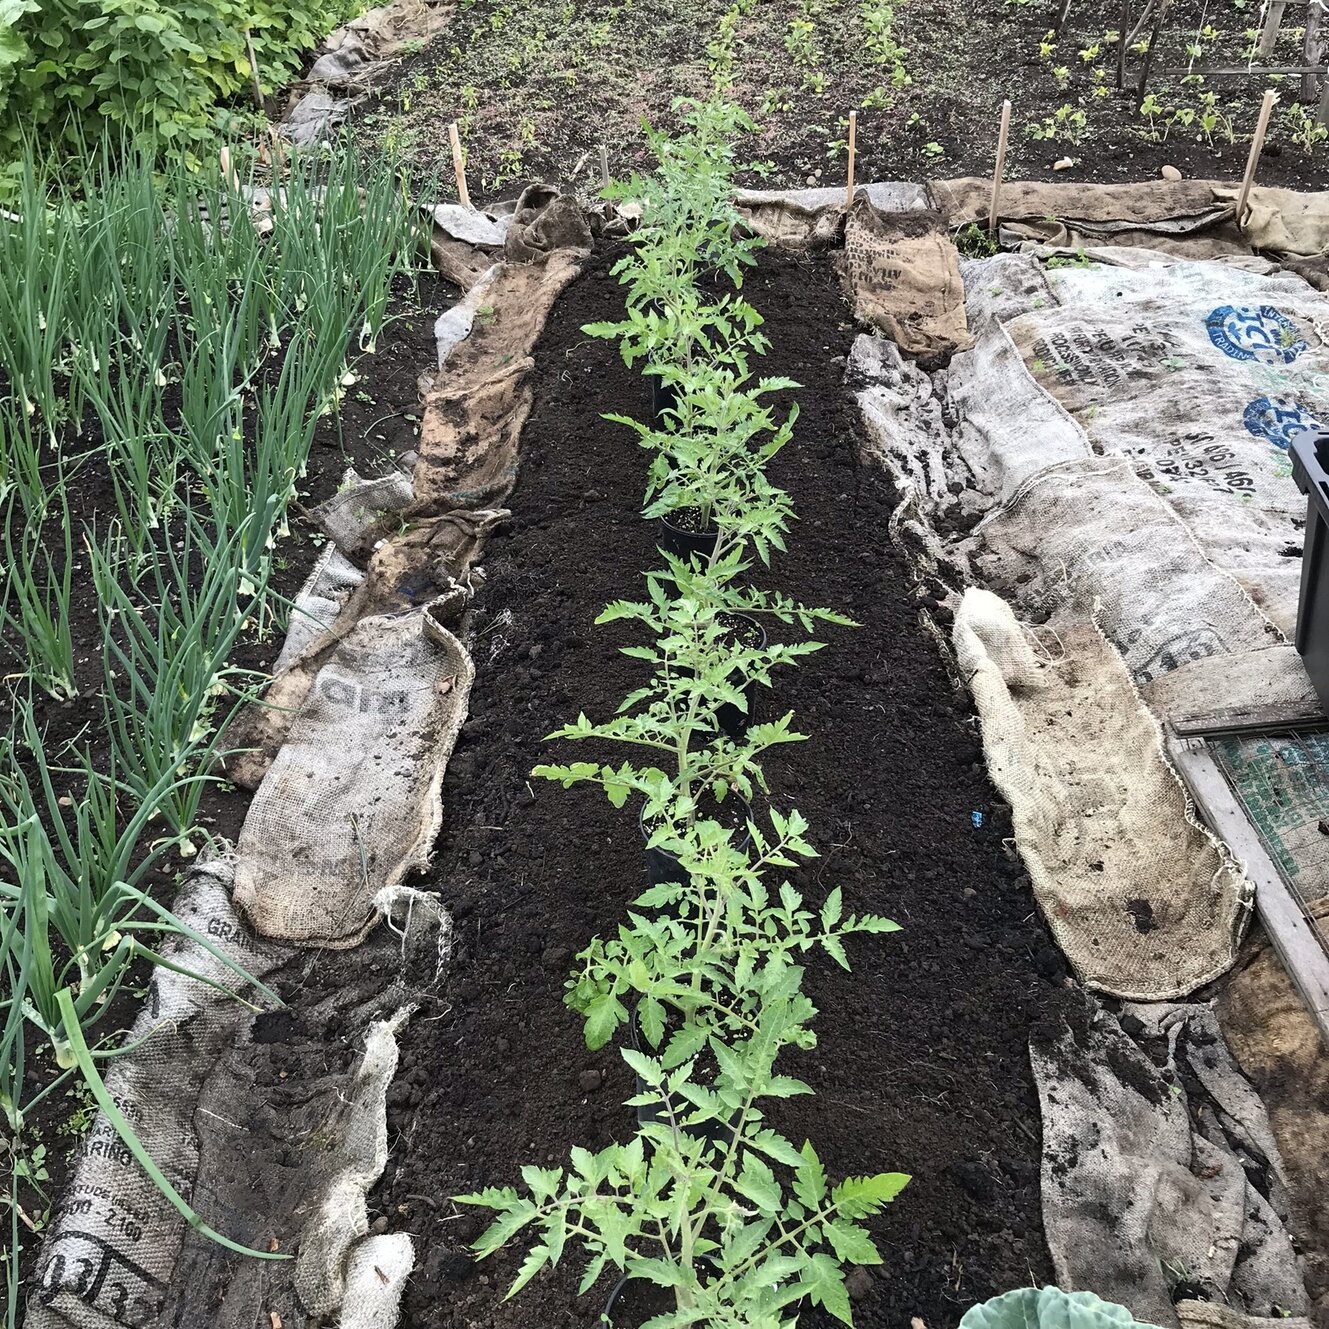
An in-ground garden bed is generally the same level as the surrounding soil or slightly raised due to loosening the soil. Sooner or later it will rise from adding topsoil, compost,soil amendments, and mulch to the garden. Over time the garden bed will have defined paths on the sides where you walk when planting, weeding, watering, and harvesting your vegetables.
Selecting the Right Location for an In-Ground Vegetable Bed
Planning an in-ground garden requires you to consider the following for a successful project:
Where is the best location for your garden beds?
Does this area get good sun? The best places to grow plants will receive full sun all day long. However, even locations that receive 6-8 hours of good sun will thrive. Partial shade in the morning and afternoon are common issues that urban gardeners face, but with a little thoughtful planning, it is possible to position your garden in the right location for optimal plant growth.
What is your access to water like?
Water access is critical whether irrigating with a garden hose or installing irrigation. Make a plan for watering your plants through the dry season. Hand watering is a common practice, but if your garden beds are placed far away this means a lot of walking carrying water. For this reason, in-ground garden beds are helpful. Sites that are dry with limited rainfall benefit from well-spaced plants that allow the roots to spread and go deep into the soil. Provided that they are given ample space you can water plants less frequently.
What tools do you have available to build your beds?
With a single shovel, it is possible to get a lot done when setting up your beds. You can use a round point shovel to dig paths. Then place that top layer of soil in the bed to add to the vegetable bed. A shovel is good for breaking up the ground to aerate the soil. In the same fashion as tilling for the first time when setting up the bed. In addition, it is helpful to have a garden rake or a hoe to further break up clumps of soil. Then smooth out the planting area which is important when direct seeding.
How big is your garden going to be?
Planning the size ahead of time allows you to determine the width of your garden beds and rows in between. If you are building your vegetable beds all by yourself with just hand tools it can be very laborious. Therefore, do it in chunks and build out the rows and paths in sections as you go until you are finished with your new garden.
How to Set Up Your In-Ground Garden Beds
Keep the following in mind when planning and building a new vegetable garden
-
Choose the Right Location
Location, location, location. In short, location will determine the success of your planting. Ultimately it dictates what vegetables or flowers will thrive in your garden bed. Just like your general climate will have a serious impact on what will grow well in your garden, the location on your urban homestead will matter too.
Most of the vegetables a gardener wants to grow like tomatoes, peppers, squash, corn, potatoes, etc. require full sun. This means at least 6 to 8 hours of uninterrupted sunshine, but more is even better. Plants like lettuce, kale, or herbs like cilantro, thyme, and oregano will grow in shaded locations. In any event just because your garden doesn’t get uninterrupted sun for the bulk of the day, it does not mean your garden will be able to grow vegetables.
If you have the choice, it is ideal to place your garden beds in soil that drains well. Overall you want to avoid allowing standing water in your gardens as it will kill or make your plants very unhappy.
Avoid selecting a location that is directly next to mature trees and shrubs. Generally speaking, they will compete for the available nutrients and water essential to your crops. Close proximity to a water source is helpful. Build the garden closer to your home so that you will keep an eye on the plants to address any issues. All of a sudden things such as weeding or pest infestation can get out of control when the garden is not observed.
-
Select the design
Once you know the location, it’s time to think about the design for your space. Do you want to maximize the growing space so you can pack as many plants using rows? Or create a whimsical shape and focus on a highly aesthetic design? What are your physical capabilities for maintenance tasks such as weeding and harvesting the crops?
When selecting a rectangle shape for an inground bed a common size is 30-inch garden beds with 18-inch paths in between. Some gardeners choose to go with a width as large as 48 inches. As a result, a bigger bed can add an additional row or two of crops in the bed. However, you will want to consider this makes weeding and harvesting more difficult fin the middle rows. The path size may be something that you want to shrink down to 12 inches or go larger up to 24 inches wide. Under those circumstances, by going smaller it is more difficult to walk down the path or bring a wheelbarrow through the garden space.
I recommend 30-inch width beds with 18-inch paths for people when making their first garden bed. This spacing will allow you to likely straddle the bed and have a foot in both side paths which is great when planting and harvesting a full row of vegetables and the little bit wider path allows you to avoid stepping on the beds when doing maintenance chores.
-
Remove the lawn or other plants
If your garden area is already bare dirt then you can skip. However, most people will be replacing a lawn for a garden or at least a heavily weeded area that needs to be removed prior to preparing the beds for planting. Use a sod cutter if you have access to one or use a sharp shovel and remove the top layer of grass. If you have the ability to prepare a sheet mulch lasagne bed that can be an excellent method for kick-starting an in-ground garden bed and I highly recommend this method for people that can gather the necessary supplies.
Save that sod you remove and put it in your compost pile. Alternatively, it can be used to make a second garden bed using the hugelkultur garden bed method. Double digging your in-ground garden bed and burying the sod in your ground can work depending on the grass. Be aware that some grass varieties, especially ones that spread via rhizomes will likely stay. Then they become a major weeding nuisance so composting or setting aside for a future project is an excellent way to go.
-
Improve the soil if you can
Before you plant it is wise to add some amendments to your soil to improve the success of your garden. First-time garden beds depending on the quality of your soil may need a lot of amendments or may not need very much at all. I would recommend either talking to local gardeners in your area about the local soil and things to be aware of or even better get a soil test.
However, site unseen I would recommend adding some compost to your soil. Basic soil amendments are available at the garden centers big and small. A bag of chicken manure fertilizer or steer manure can be a great option as well to give your soil some immediate nutrients and spur on the native microbiology in the soil. Integrating a basic fertilizer for vegetables that has equal parts of nitrogen, phosphorus, and potassium. Fertilizers will list these on the labels abbreviated as N, P, K. By and large these are the most important essential nutrients and minerals vegetables need to grow.
I highly recommend using organic fertilizer and you can make your own following the Steve Solomon organic fertilizer method or find a retailer that sells their own house version of organic fertilizer. After you add your compost and fertilizers to the surface of the soil, it is a good idea to mix it well with your native soil. This makes it available to the roots of your new plants and will activate the bacteria and other organisms in your soil that your plants rely on to thrive.
-
Plant or seed your plants
Mark your rows based on the types of plants that you are going to grow. Every plant has its own recommended plant spacing that will be listed on the package. There are also different planting densities that are possible. Be aware the more plants that you put into a specific area the more water and nutrients the soil will need to support healthy growing plants. By giving your plants more space you can also give them less fertilizer and less water during the season.
Every gardener has to find the right balance for their situation between available space and desired outcomes. Then choose the spacing that works for their growing needs. Intensive gardening with a high density can be a very productive way to garden small spaces. However, it’s not called intensive for being easy and with little work required. Think about how much time you have to spend in the garden doing chores.
After you have your rows marked on the ground. Then dig your holes and plant your transplants or get to adding your seeds to the soil. After planting an in-ground vegetable bed it is essential to water in your plants and water them thoroughly so that the water goes deep into the ground. Slow long watering is much better than fast and heavy that pools up. A fully saturated ground after planting will give your plants access to the water they need. This ensures they overcome any transplanting shock. Usually keeping the soil moist is best to fully germinate seeds when planting via seed.
-
Continue to maintain the garden space
Once you have your first set of transplants in the garden or you have seeded the bed. Then it’s time to water the plants regularly and keep an eye on the bed. Every new garden bed that isn’t made with 100% brought-in materials will get some weeds, this is normal. Remove the weeds that pop up around the bed as early as you can get to them and watch for signs of pest damage on your new plants and seedlings as they emerge.
Every gardener or hand-powered market farmer with in-ground beds needs the best wheel hoe they can buy to cultivate, weed, create furrows, and hill their vegetables. A few of the right tools can go a long way to making gardening a joy versus a chore.
The Benefits of In-Ground Garden Beds
Building garden beds into the native soil have several advantages for the urban homesteader.
- Use the Native Soil – The number one thing that gardening directly in the ground provides is the ability to use your natural soil. This one item impacts all of the others.It is such a major benefit that even if you have the resources to build raised beds in-ground is still likely the best choice. If you are thinking of gardening in a homestead fashion to replace the grocery store for significant portions of what you eat, go direct into the soil.
- Financial – By not importing tons of soil to fill large raised beds it is very economical to grow in-ground. Some areas have awesome natural soil and there’s no reason to not take advantage of that natural resource and garden directly in the dirt you own.
- Less Work – Building raised beds requires you to bring in lumber, build the frame, and cart in bags or wheelbarrow loads of soil to get started. This is labor-intensive whereas gardening in the native dirt just requires you to prep the area, something you would likely need to do anyway when gardening in a raised bed.
- Better Water Usage – In-ground beds soak up the water and dry out significantly slower than above-ground raised beds. Especially in drier climates a raised bed can require watering daily if not twice a day during the hottest months of the year. In-ground is generally easier to install irrigation. They also offer multiple irrigation options such as in-row drip tape the hoses laid flat directly on the ground or buried in the row. Consequently, these require fewer configurations and parts versus plumbing water into a raised bed.


Recent Comments