
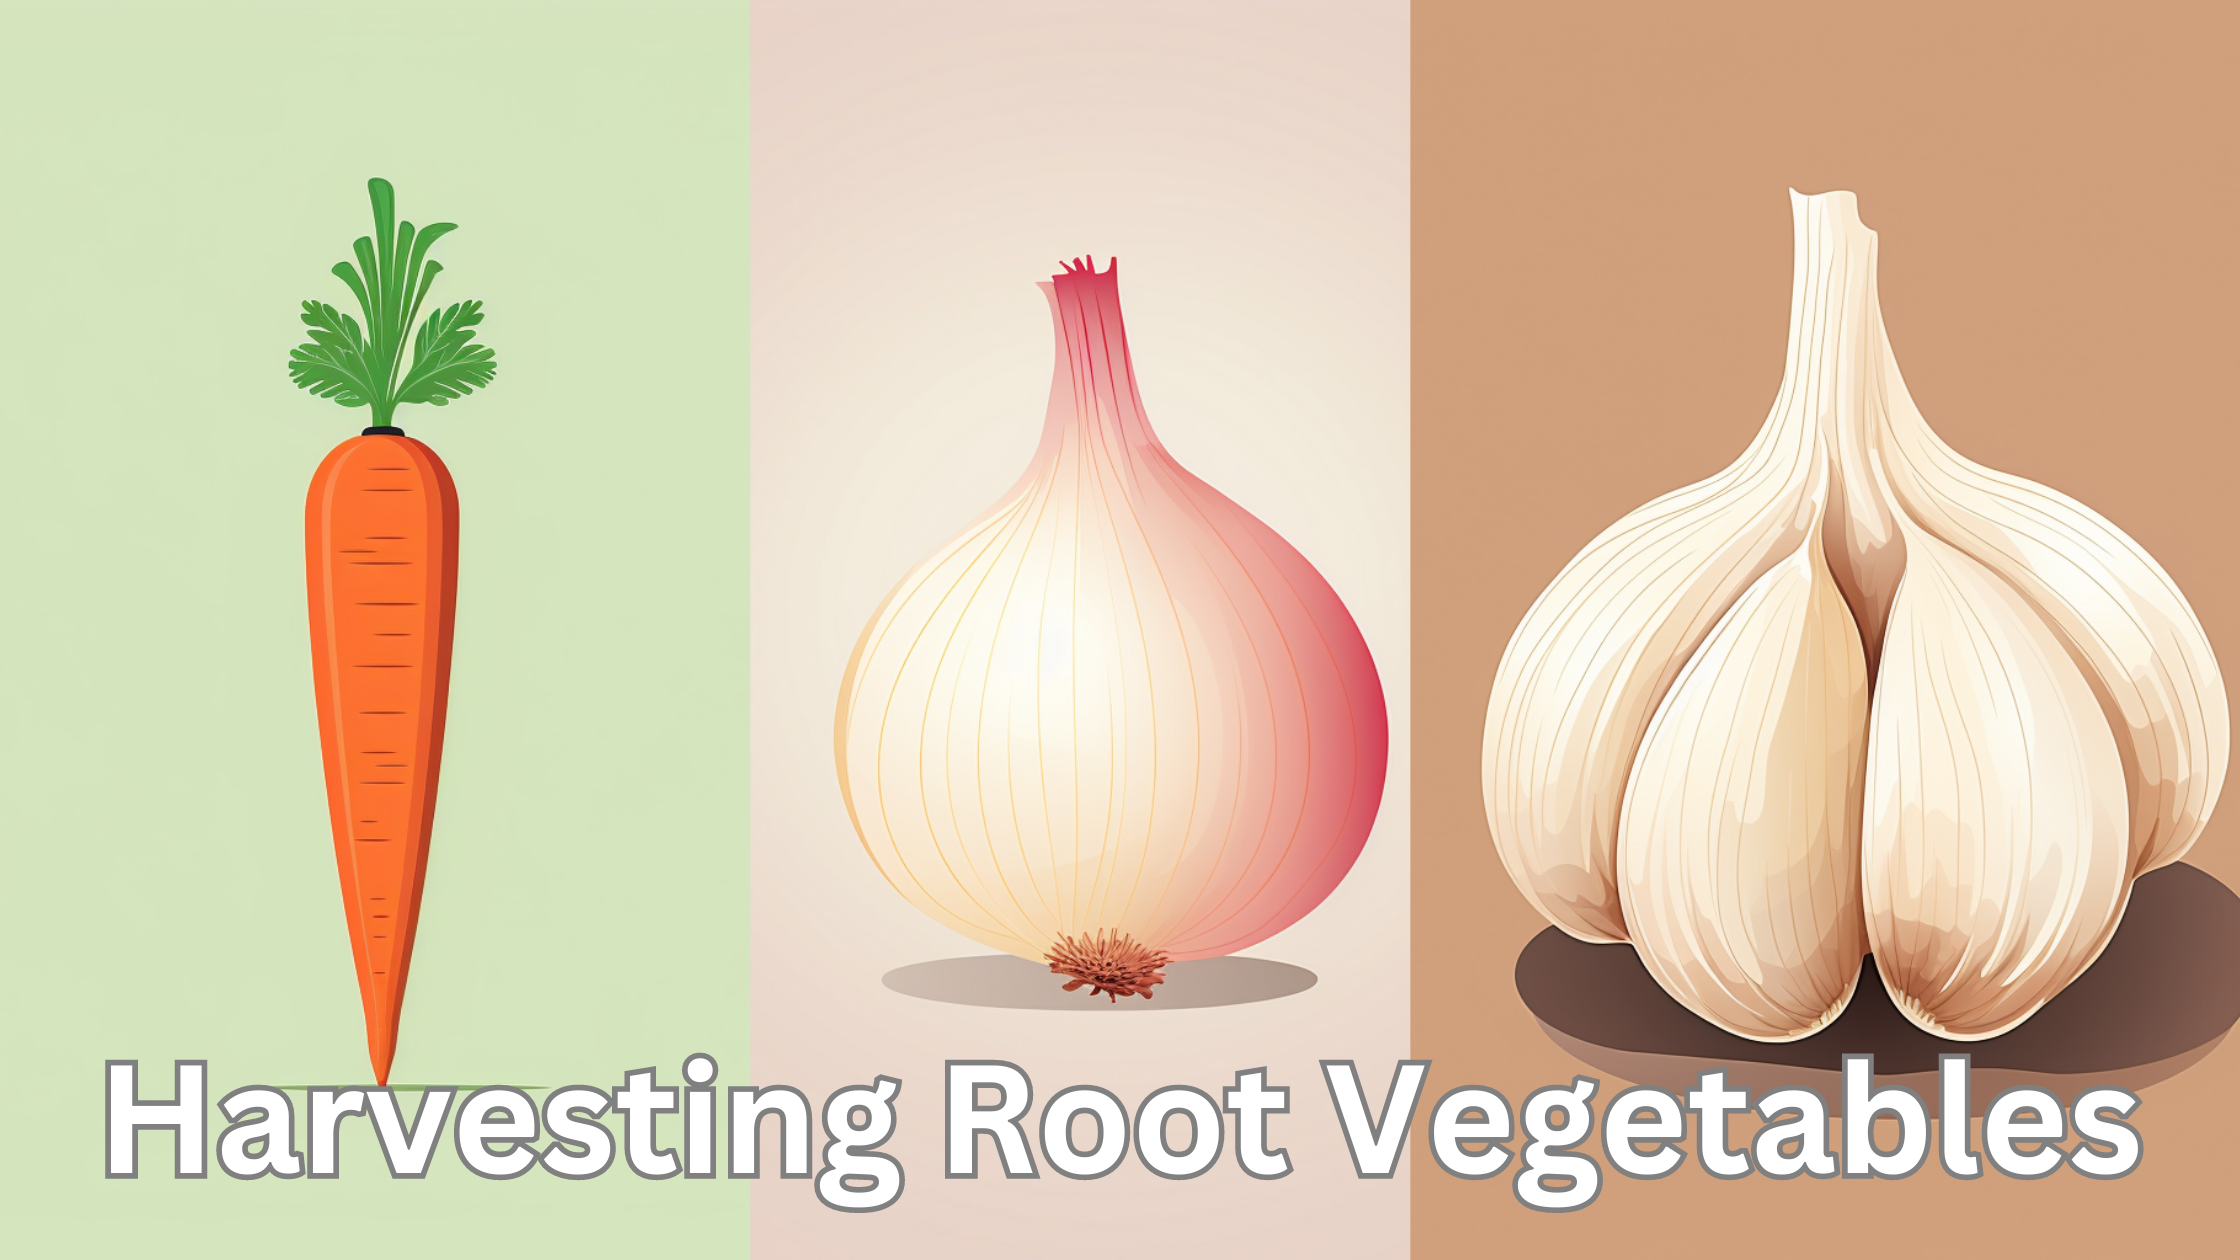
Harvest Root Vegetables from a Backyard Garden
Everyone loves to harvest root vegetables from a backyard garden. These crops are a staple. We dedicate an entire bed to growing specific varieties of organic garlic for their tasty scapes and massive bulbs. Harvesting potatoes and sweet potatoes is a gardener’s treasure hunt.
It’s amazing how big a tuber can grow before you make the harvest.
Steps for Root Vegetable Harvesting
- Loosen the soil around the vegetable crop. Depending on the crop place your garden fork a certain distance away from the stem of the vegetable to loosen the soil.
- Push the garden fork, pitchfork, or shovel straight down into the soil.
- Pull back to 45 degrees to break up the soil around the base of the plant.
- Grab the vegetable by the stem at ground level and pull it up.
- The root vegetable should come right up. Potatoes will often break off the string of roots, so always plan to check the soil for extra tubes when pulling potatoes or sweet potatoes.
Harvest Tips
In order to harvest root vegetables it is important to loosen the soil up first. We do this by pushing a garden fork down into the soil 8 inches away from the stem of the plant. This is the right distance from the fork to the base of the plant for carrots, garlic, onion, radishes, turnips, and beets.
Potatoes and sweet potatoes are known to have wide-growing root formations below the plant. Therefore, I recommend forking from at least 12 inches away or more and you will may hit the tubes, so adjust accordingly as needed.
Tools for Harvesting Root Vegetables
The best tool for harvesting root vegetables is the garden fork. Followed by the pitch fork and the shovel if you do not have a tool with tines. A strong garden fork is the best option for working in a variety of different soil types. Here is my order from the best tool to a tool that will still get the job done and harvest root vegetables: garden fork, pitchfork, shovel, hori hori, hand trowel.
Garden Fork
The garden fork is a strong hand-held tool for breaking up and loosening garden beds. It is the preferred too for harvesting root vegetables. The tines on the garden fork are straight up and down allowing for precise placement of the tines. Avoid hitting the vegetables below the surface of the ground, by knowing exactly where the pointy parts are going. The garden fork is strong and durable and can move loads of straw, and mulch, and even loosen soils that have lots of rocks included.
Pitch Fork
The pitchfork while similar to a garden fork is not nearly as strong. A pitchfork works well to loosen the soils of raised bed gardens that are home to potatoes, carrots, and garlic. However, a pitchfork will struggle to loosen the ground of in-ground garden rows with potatoes growing in it. Depending on how much clay your soil contains, a pitchfork will start to struggle to move the ground when you pull back on the shaft of the tool.
Shovel
The shovel is a ground alternative tool if you do not have a garden fork or a pitchfork. While it is not as easy to work in the soil as the garden fork for methodically working down a row efficiently loosening the heavy dirt clumps. It will do the job. A pointy shovel is in every single garden shed in the country and whether you need it to dig a hole or loosen the soil next to your garlic bed to assist in the harvest a shovel will work in a pinch.
Be careful harvesting potatoes with a shovel as it can be difficult to miss the tubers and not end up with several sliced in half.
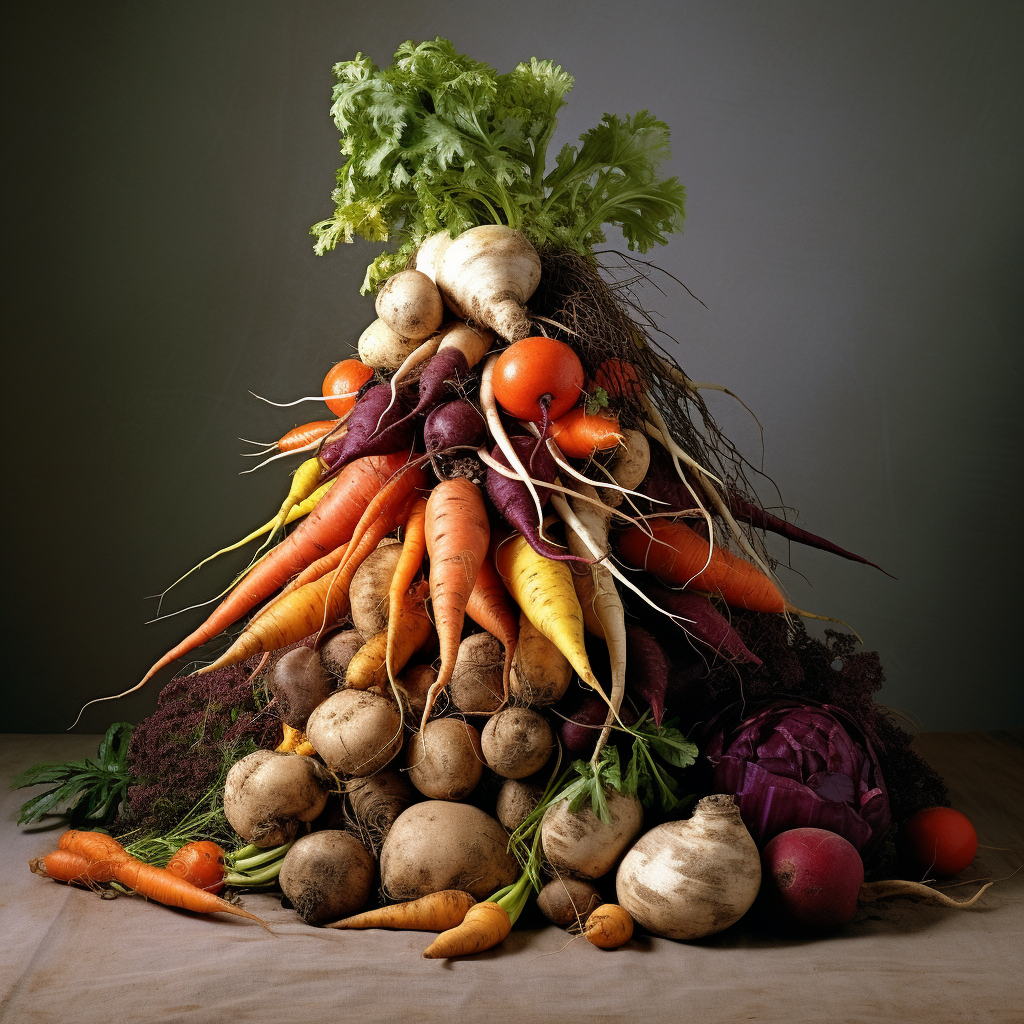
Post Harvest Tasks by Vegetable
After root crops have been pulled from the ground it is important to properly cure them. This varies depending on the crop that is being harvested. Here’s how we process the crops that we harvest.
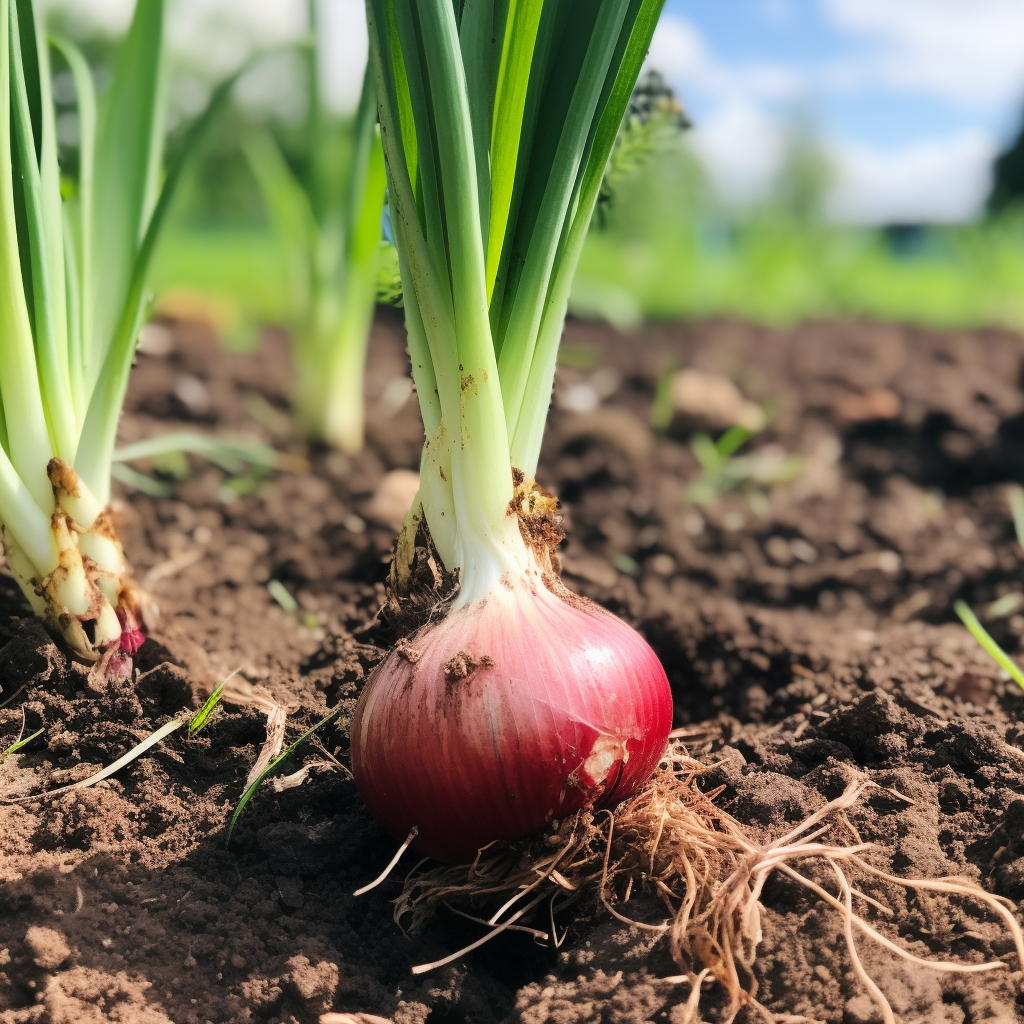
Onions
It is important to properly dry onions for long-term storage. If you have a small crop that will be eaten in the next week or two go ahead and enjoy them as you see fit. When harvesting several rows of onions you will want to properly dry them so they will last for 6 months to over a year depending on the variety.
- Use a garden fork to loosen the soil along the onions.
- Pull the bulbs from the ground and shake off the soil from the roots.
- Place the onions back on the ground, avoid stacking them on top of each other if they will be left in the field to dry.
- You can leave onions to dry in the field. I prefer to dry away from the garden in a covered space.
- Place the onions on a drying rack. We made one out of scrap wood and hardwire cloth. Place them in a fully shaded spot that gets an outdoor breeze.
- I turn them once a day for one week after harvest to avoid any rot developing. We set aside any bulbs that flowered and chop them up to use in dishes now.
- After 10 days cut the roots off. I leave several inches of the stalk at this time and want to allow the base to fully dry all on its own with several inches above the bulb.
- Once fully dry, trim off the last of the stalk to appear like they do at the grocery store.
- Place in your long-term storage space.
Potatoes
Harvesting potatoes is one of the more fun gardening tasks. Every single scoop with the pitchforck in the best is a potential surprise. Dumping over container potatoes is a perfect activity for little kid gardening. This is how we do it there are multiple ways to pull and save taters.
- Use a garden fork to loosen the soil on both sides of the rows of the potatoes.
- Pull the stalks up and try and get as many tubers to come up in the soil as you can.
- Use the fork to slowly work the soil to search for additional potatoes and bring them to the surface of the soil.
- Pick up the potatoes in buckets or boxes and bring them to a covered area.
- We wash the potatoes within an hour or two of being harvested, that’s just how we do it.
- They are then placed on a drying rack that has good airflow and no sun on it.
- We let them chill like that for several hours to make sure they are very dry, we have left them overnight as it is covered where we have them.
- Then they go into buckets and are placed in cool dark locations and consumed.

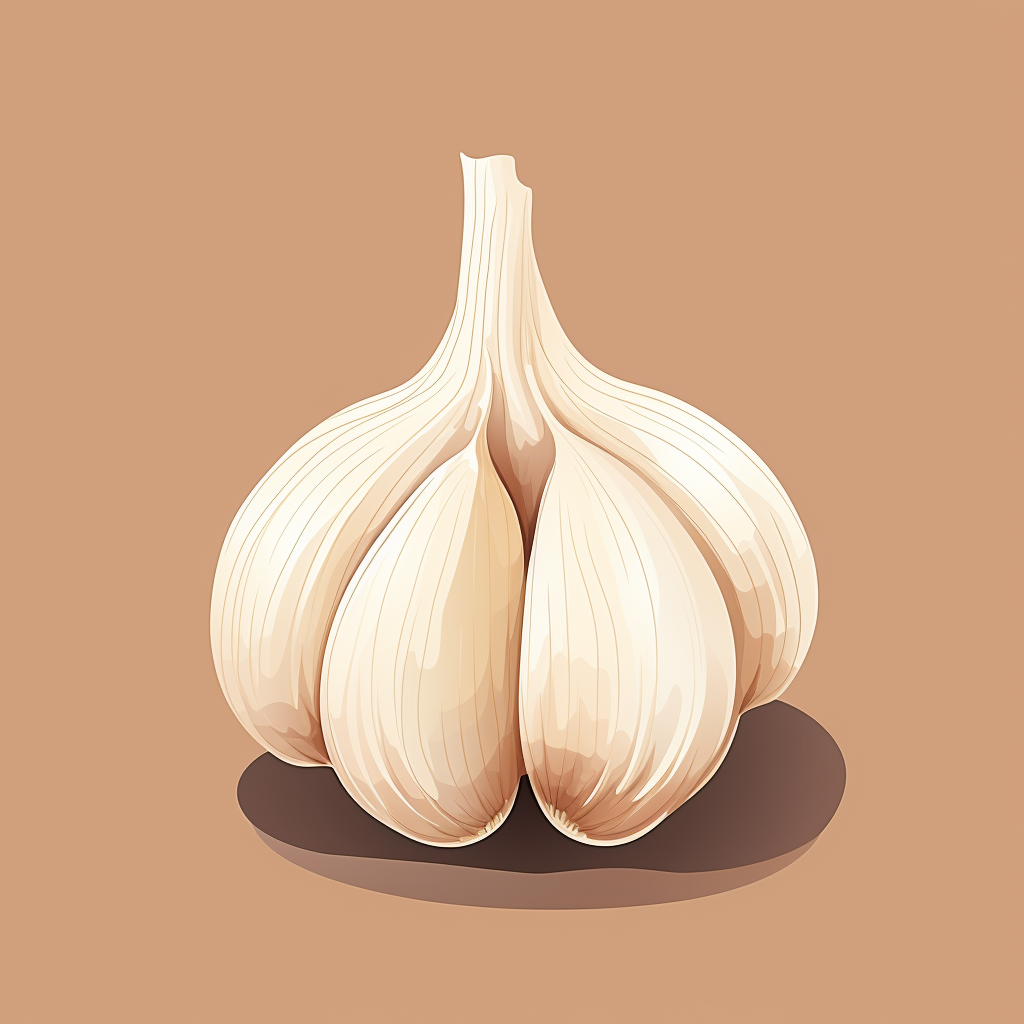
Garlic
- Fork the soil near the garlic bulbs.
- Pull straight up to dislodge the bulb from the soil.
- Knock off the dirt on the roots.
- Tie the garlic up in clumps of 10 bulbs.
- Allow to dry for three to four weeks out of the sun but with good airflow.
- Cut the roots off the bottom and cut the stalk 2 inches above the bulb.
- Set aside enough bulbs for seed garlic for planting in the fall.
- Enjoy delicious garlic.
- Make pickled or garlic powder to preserve for long periods of time.
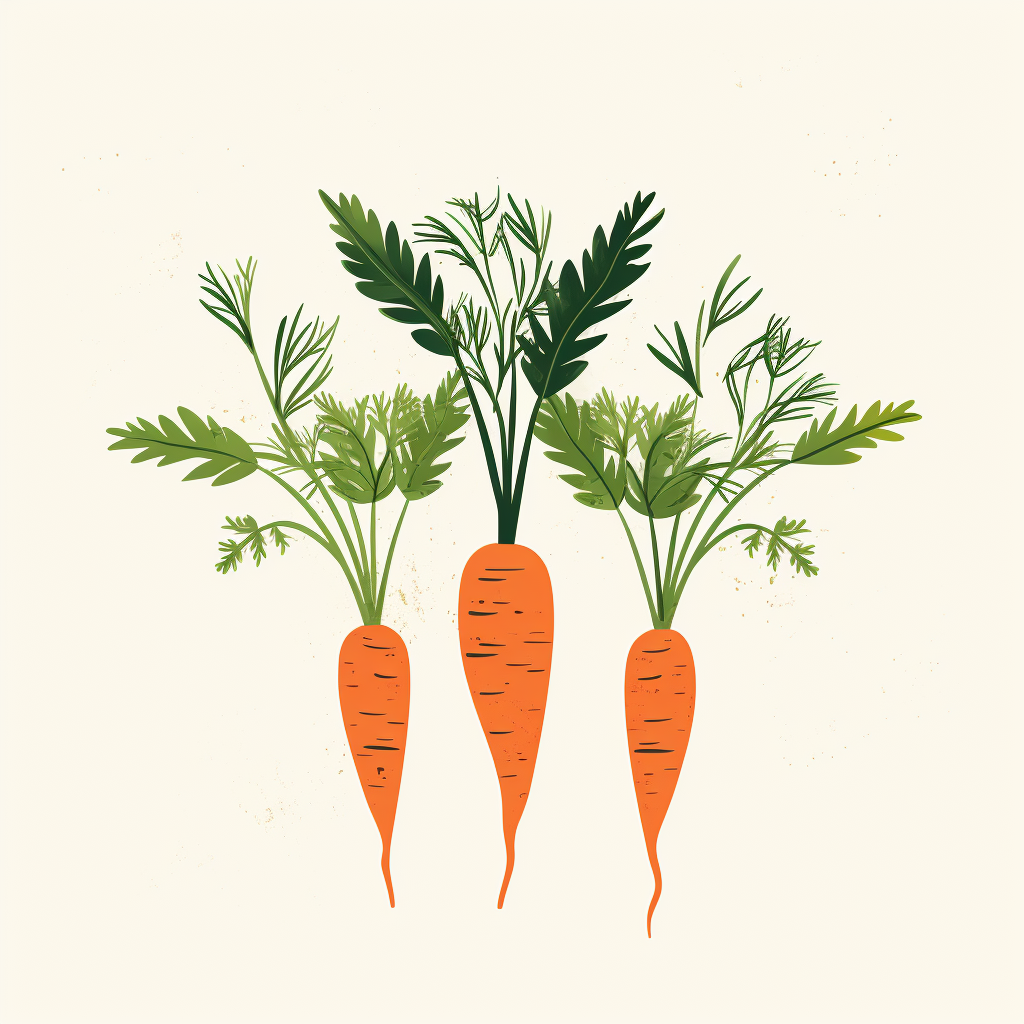
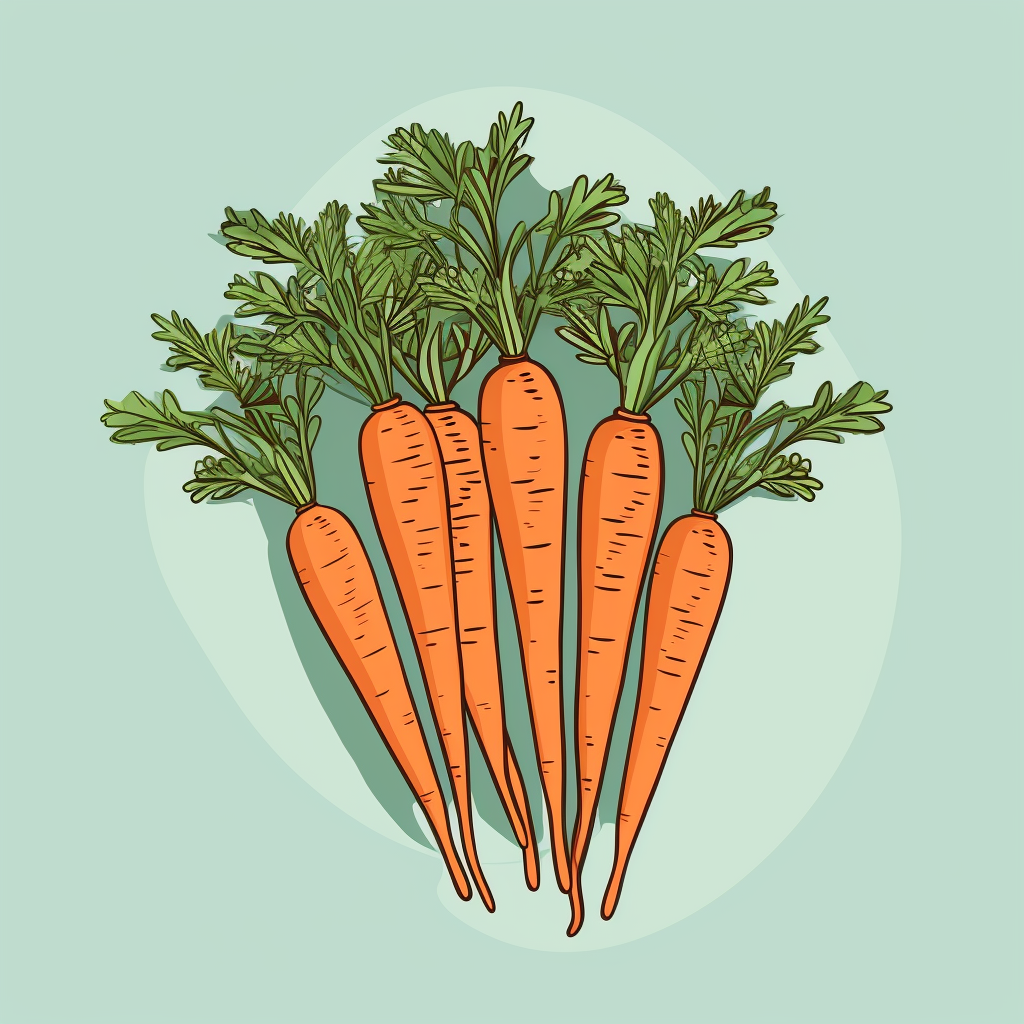
Carrots or Parsnips
- Loosen the soil with a garden fork
- Pull the carrots straight up
- Cut off the greens from the carrots. Some people like to make a carrot top pesto. We feed the carrot tops to the chickens and ducks.
- Wash the carrots in a 5-gallon bucket
- Place on a rack to dry
- Store the carrots in your preferred longer storage solution. I like 5-gallon buckets with dry sand in the root cellar. Some people like to store them in water and I have heard it can be a good way to preserve them in the refrigerator.
- Can cut carrots for any that you do not think will get eaten before they start to turn.
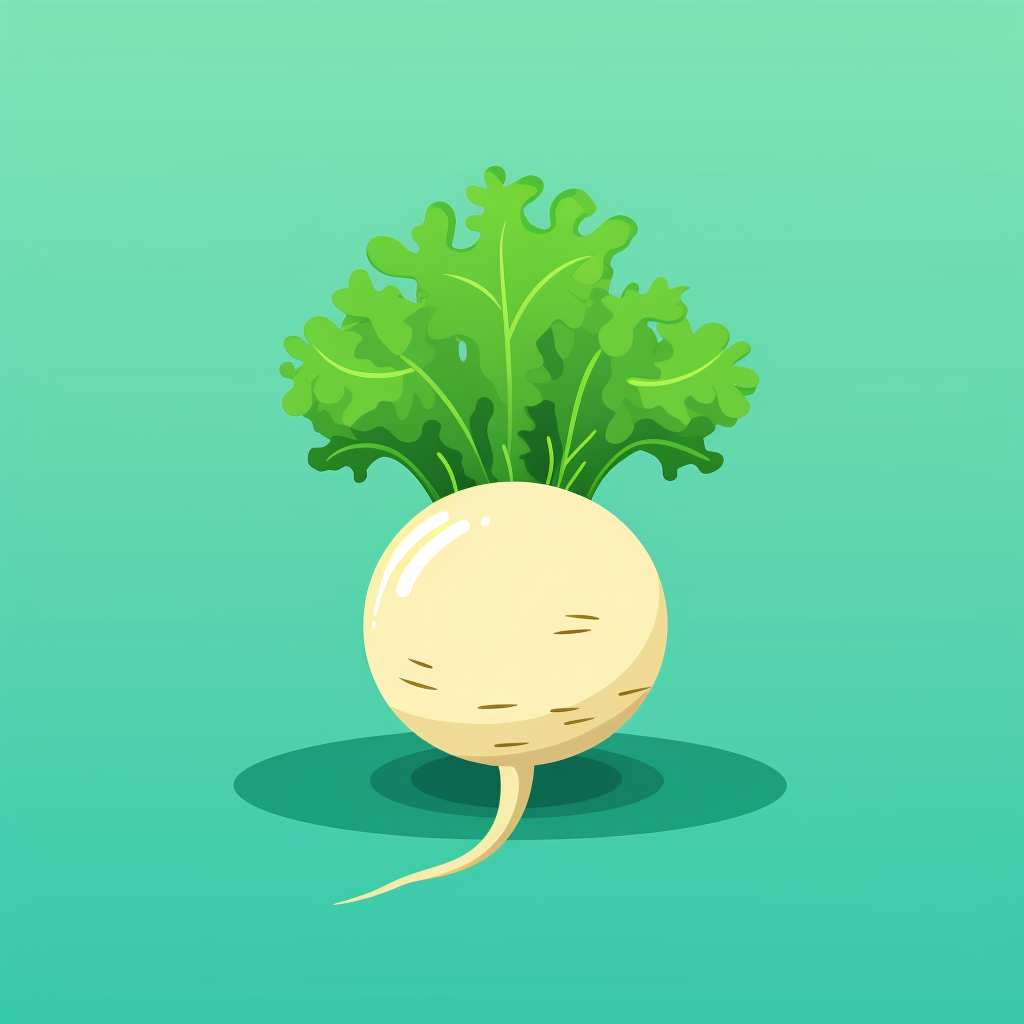
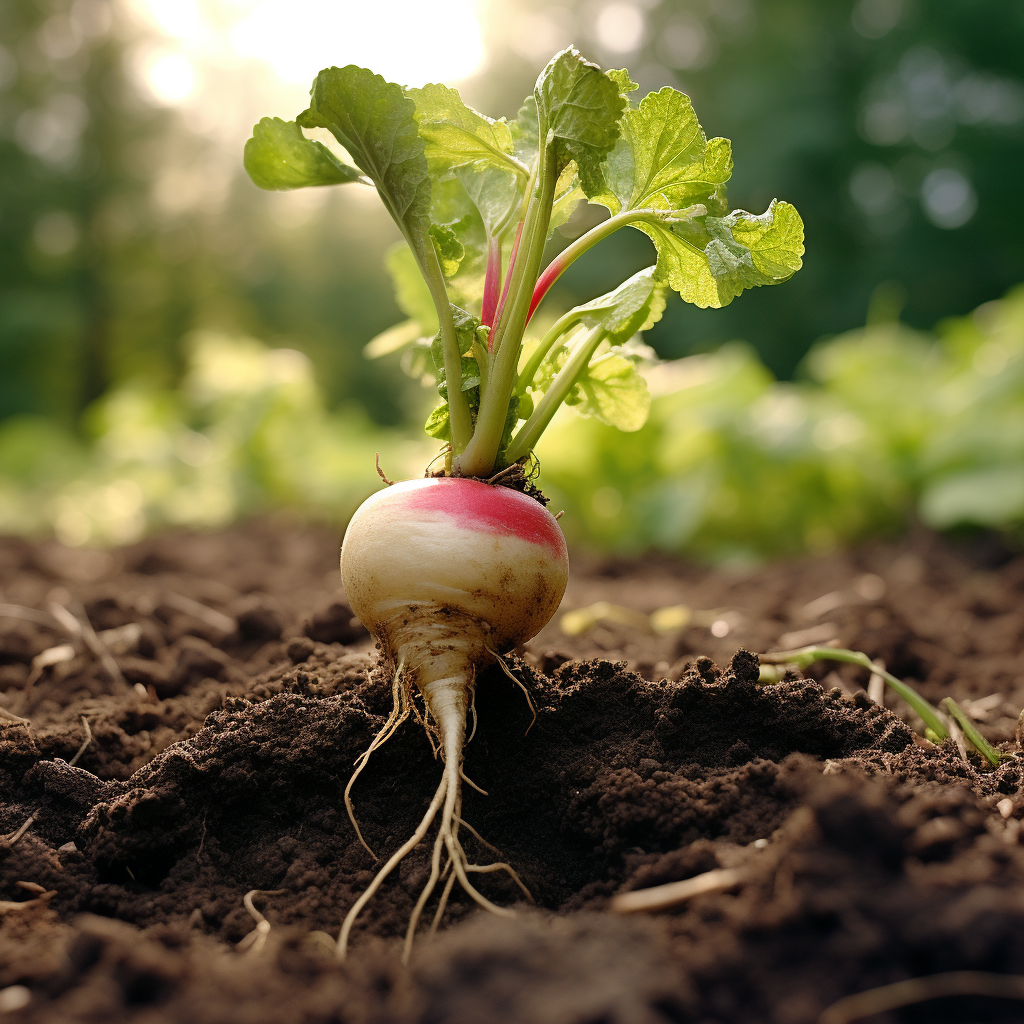
Beets, Turnips, Radishes
- Break up the soil with a garden fork.
- Pull the roots straight up
- Knock the dirt off the roots.
- Wash with a hose.
- Place on a drying rack and then into a root storage box or into your refrigerator to be enjoyed.
Garden Bed Clean Up After Harvesting Root Vegetables
Pull the root vegetables out of the garden beds. Then give the garden bed some attention so that it is ready the next time you plan on planting a crop.
Most of our root vegetables receive a layer of mulch placed around them at some point. I prefer to mix the mulch into the soil at the end of the growing season. The majority of our garden mulch is partially composted straw from our chicken and duck run. This material has already started to break down prior top dressing our root vegetable crops. A couple of turns with the garden fork in the bed and everything gets incorporated into the soil.
Use a hori hori or garden hoe to cut any weeds that germinated in the bed. Then rake the surface with a garden rake. Then place that mulch back into the chicken run compost pile.
If I am putting the garden bed away for the season and we will not be planting an additional crop then mixing in the straw prior to seeding a cover crop is my preferred method. On the contrary, if we will be planting another vegetable crop then rake the mulch and add some soil amendments and compost to cultivate into the soil. Use the garden fork to cultivate the soil and mix the amendments into the loose ground.
Mulch Root Vegetables
We always add mulch to our root vegetable crops. We compost straw in our chicken and duck run and mix it with some kitchen scraps and debris from the garden. When applied to the raised beds it helps regulate the temperature and retain moisture in the soil. Once the crops are pulled from the ground the mulch quickly incorporates into the soil of the bed.
Tops of Root Vegetables
What do you do with all of the green tops from root vegetables? The potato leaves should be composted. They are not something that you would want to eat. The rest of the root vegetables, however in varying degrees have edible tops. Of course, you can always pile them up for the chickens to enjoy.
The greens from carrots can be turned into a delicious pesto sauce served on pasta. The garlic scapes are a special treat. They are the part of the garlic plant that turns into the flower. Dice up and mix into breakfast egg scrambles or add to dinner stir fry’s.
The tops or beets and radishes can be eaten in salads or in vegetable stir fry’s. We harvest beet leaves during the growing season when they are small and delicate.
Lastly, while regular potato leaves should be avoided, the leaves from sweet potatoes can be cooked and added as a vegetable to any vegetable medley-type dish you are making in the summer. Cut the tips during the growing season and enjoy this unique garden fresh green.


Recent Comments